Idustrial revolution
Creating professionally designed plugins and templates for Final Cut Pro X
New Plugins for Final Cut Pro X


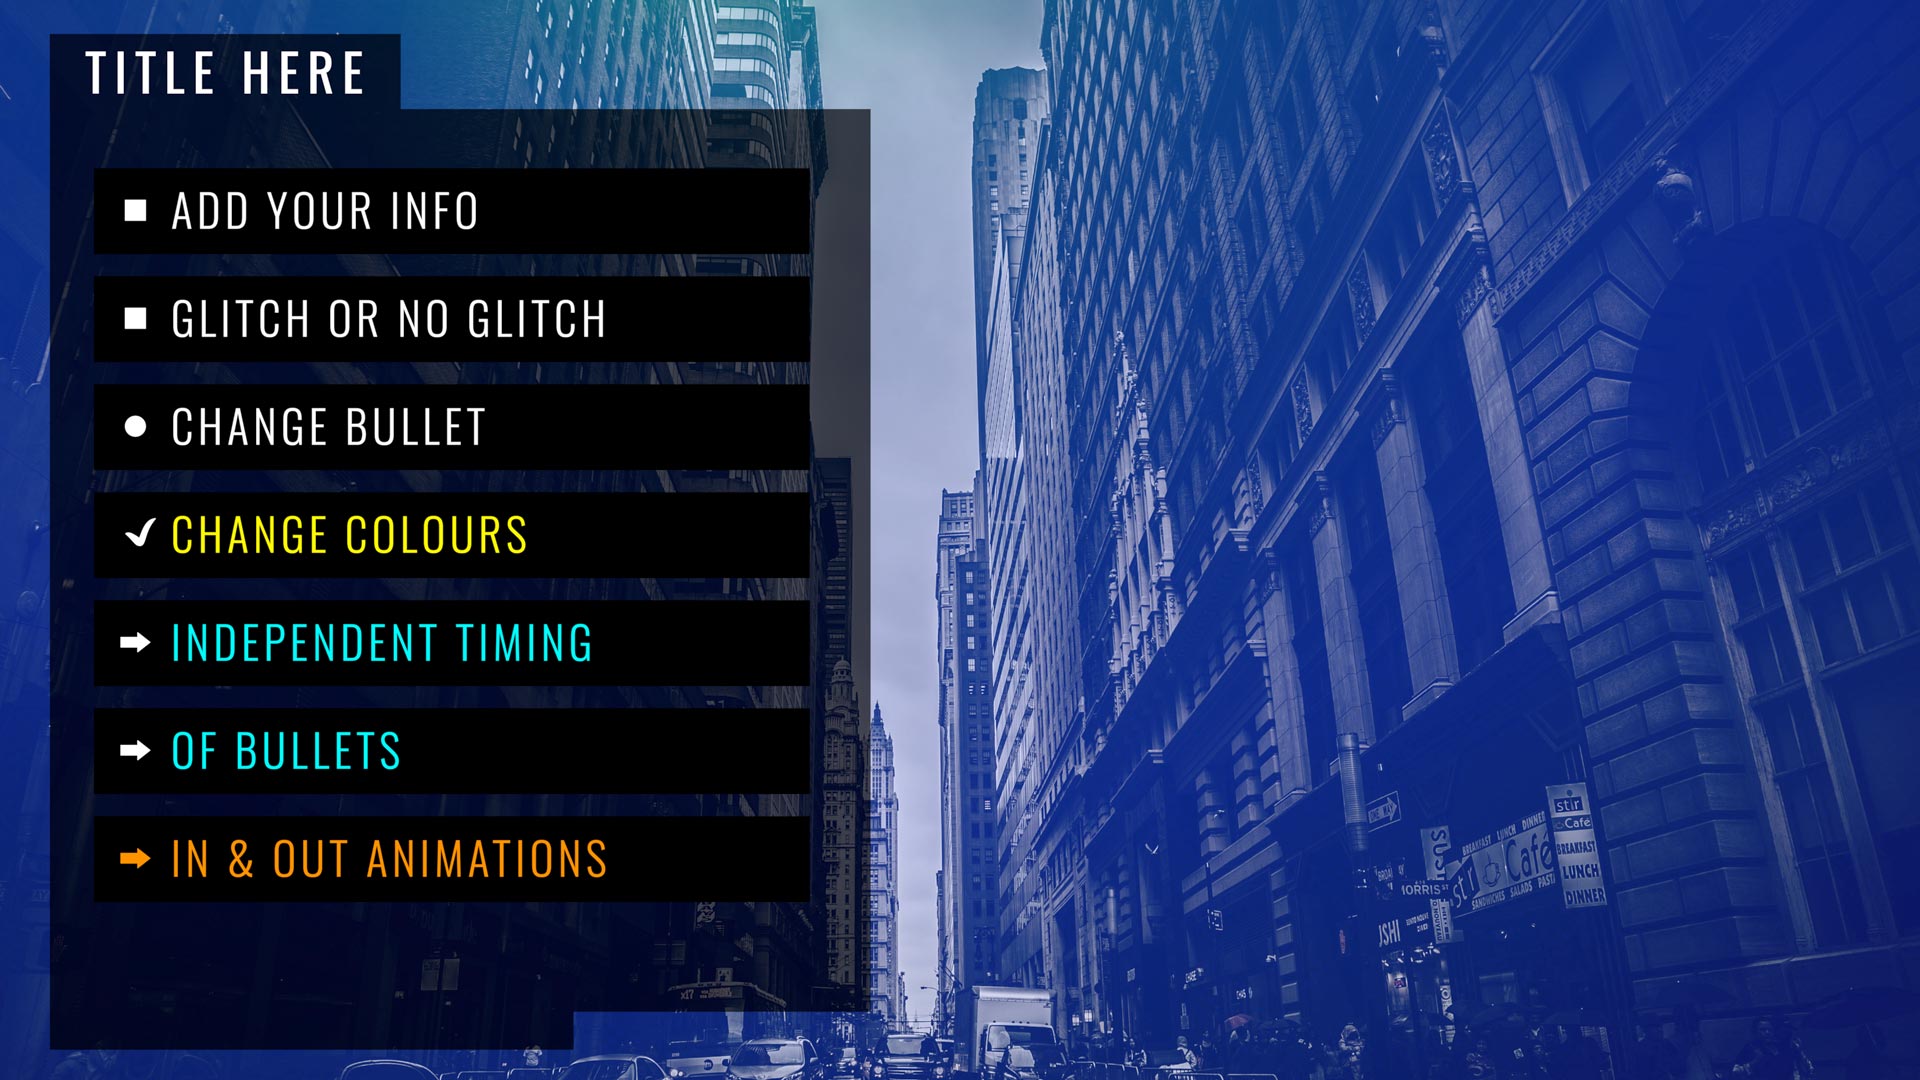


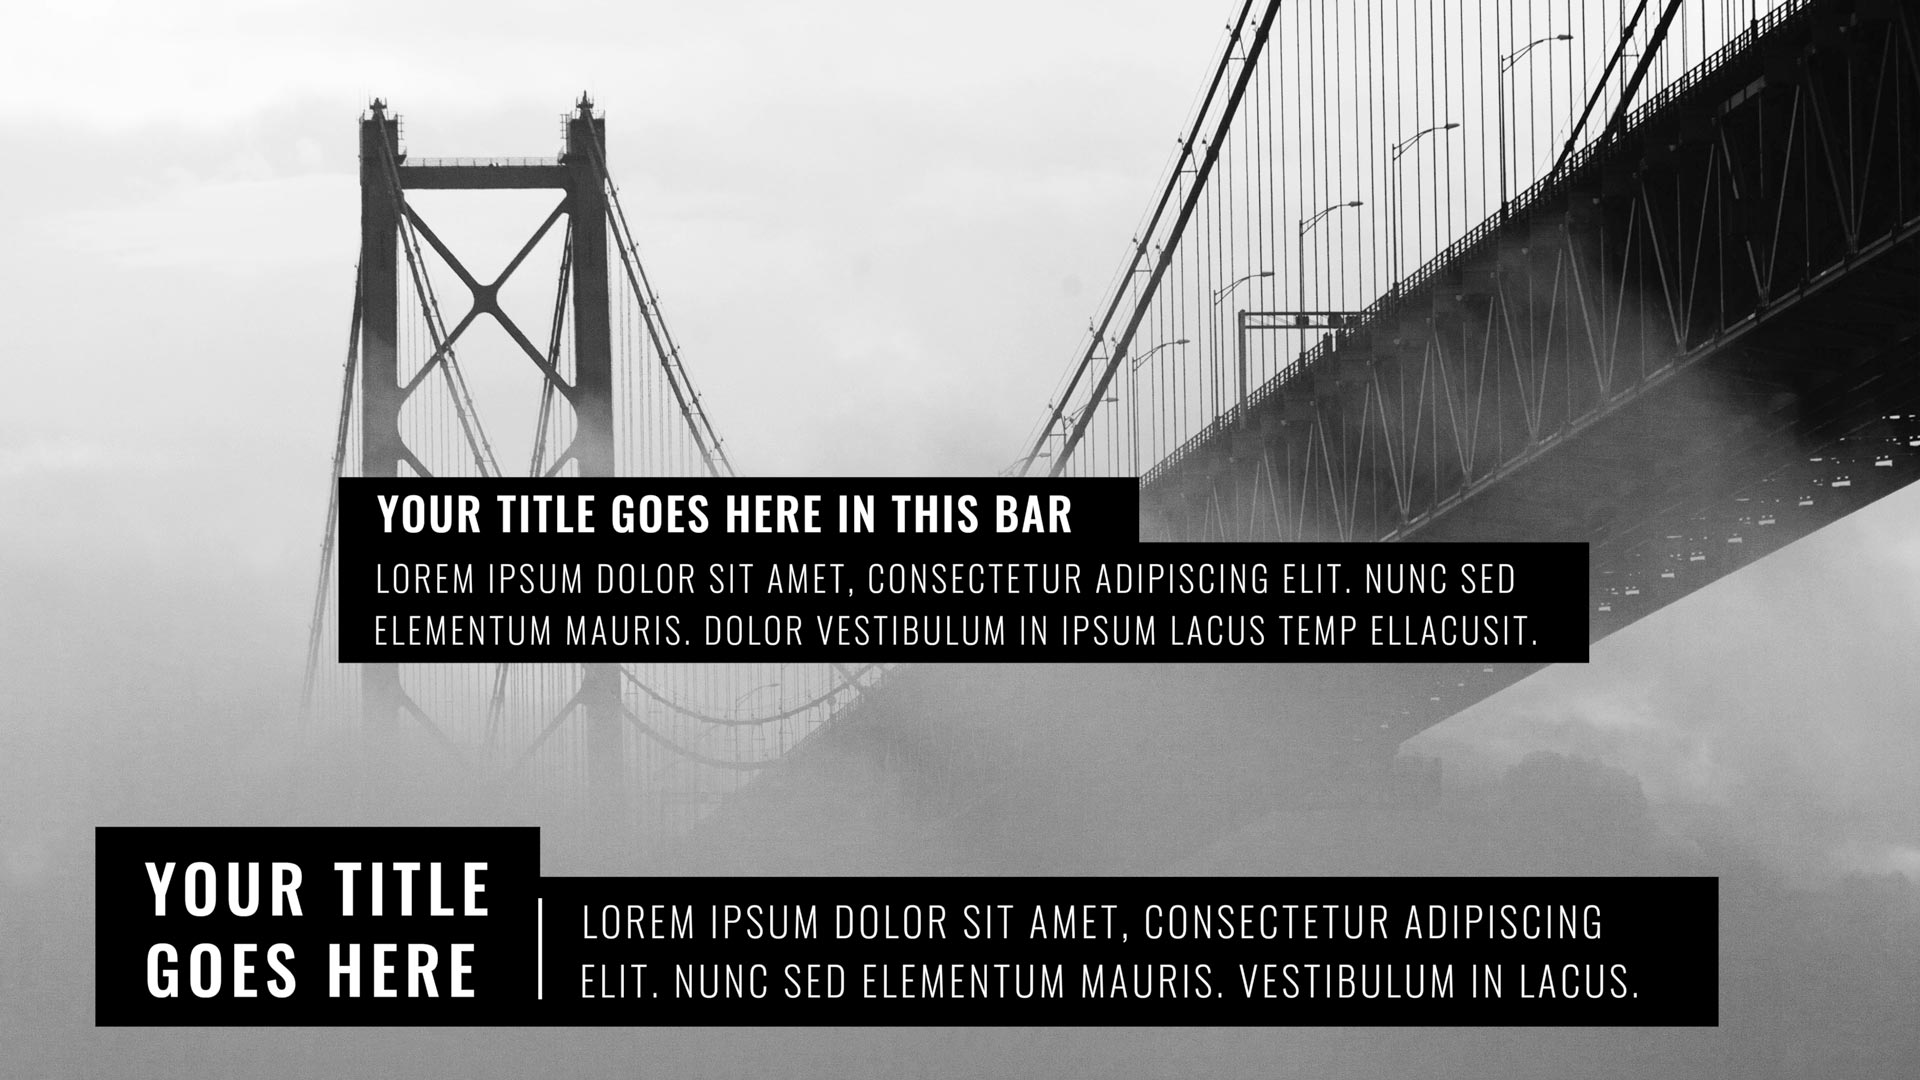


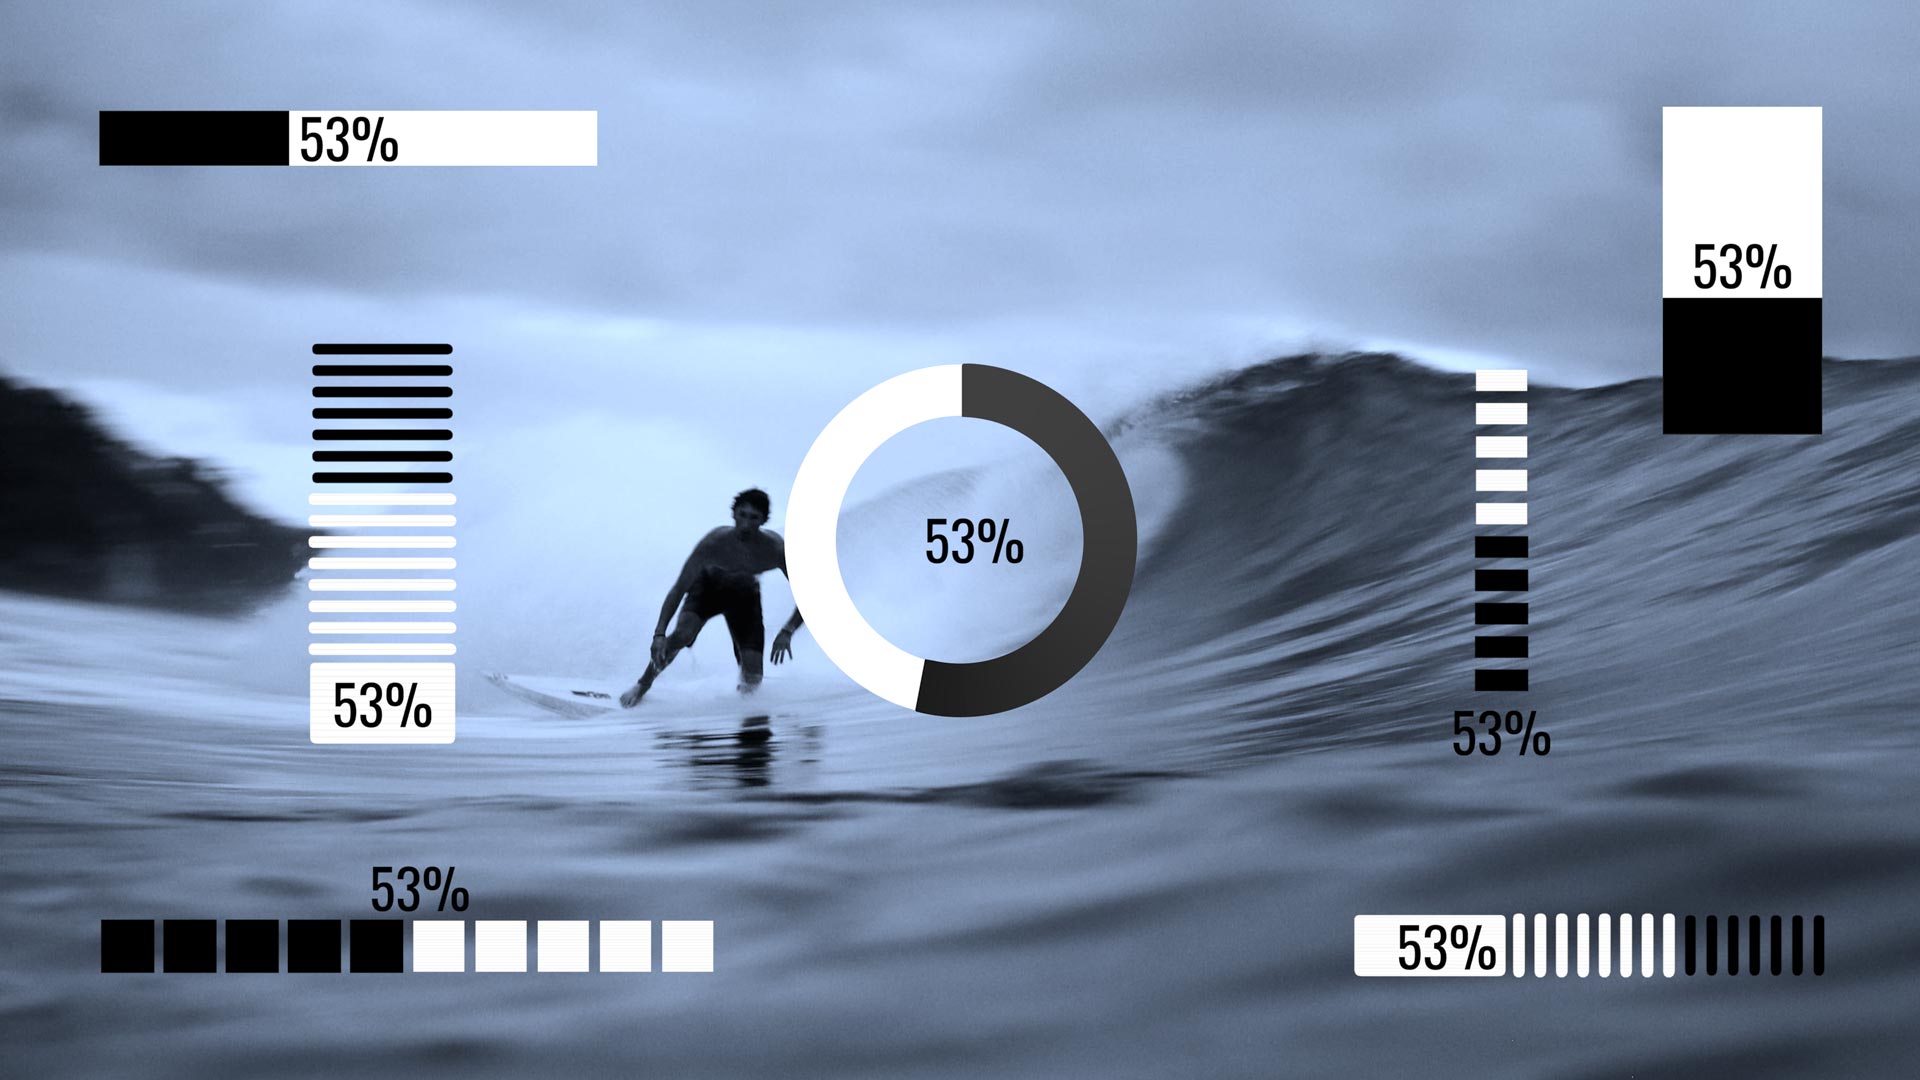


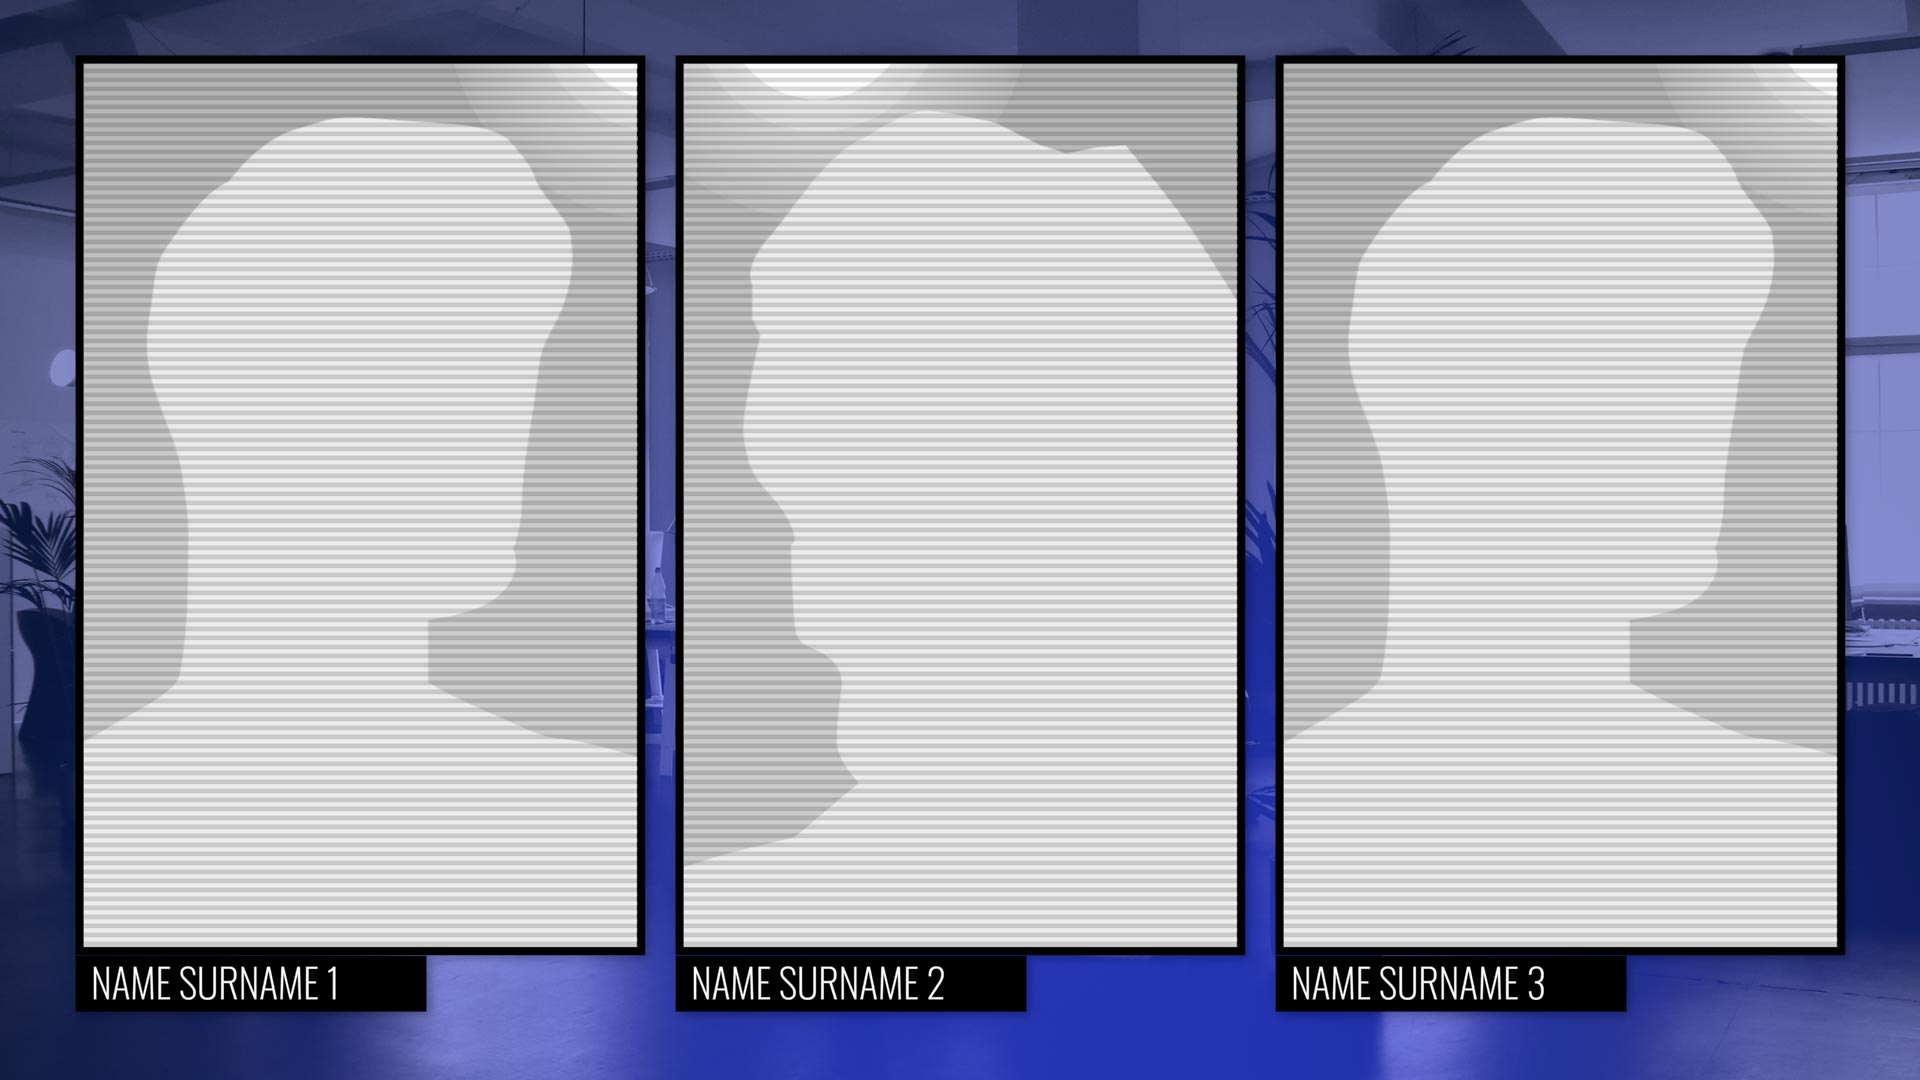


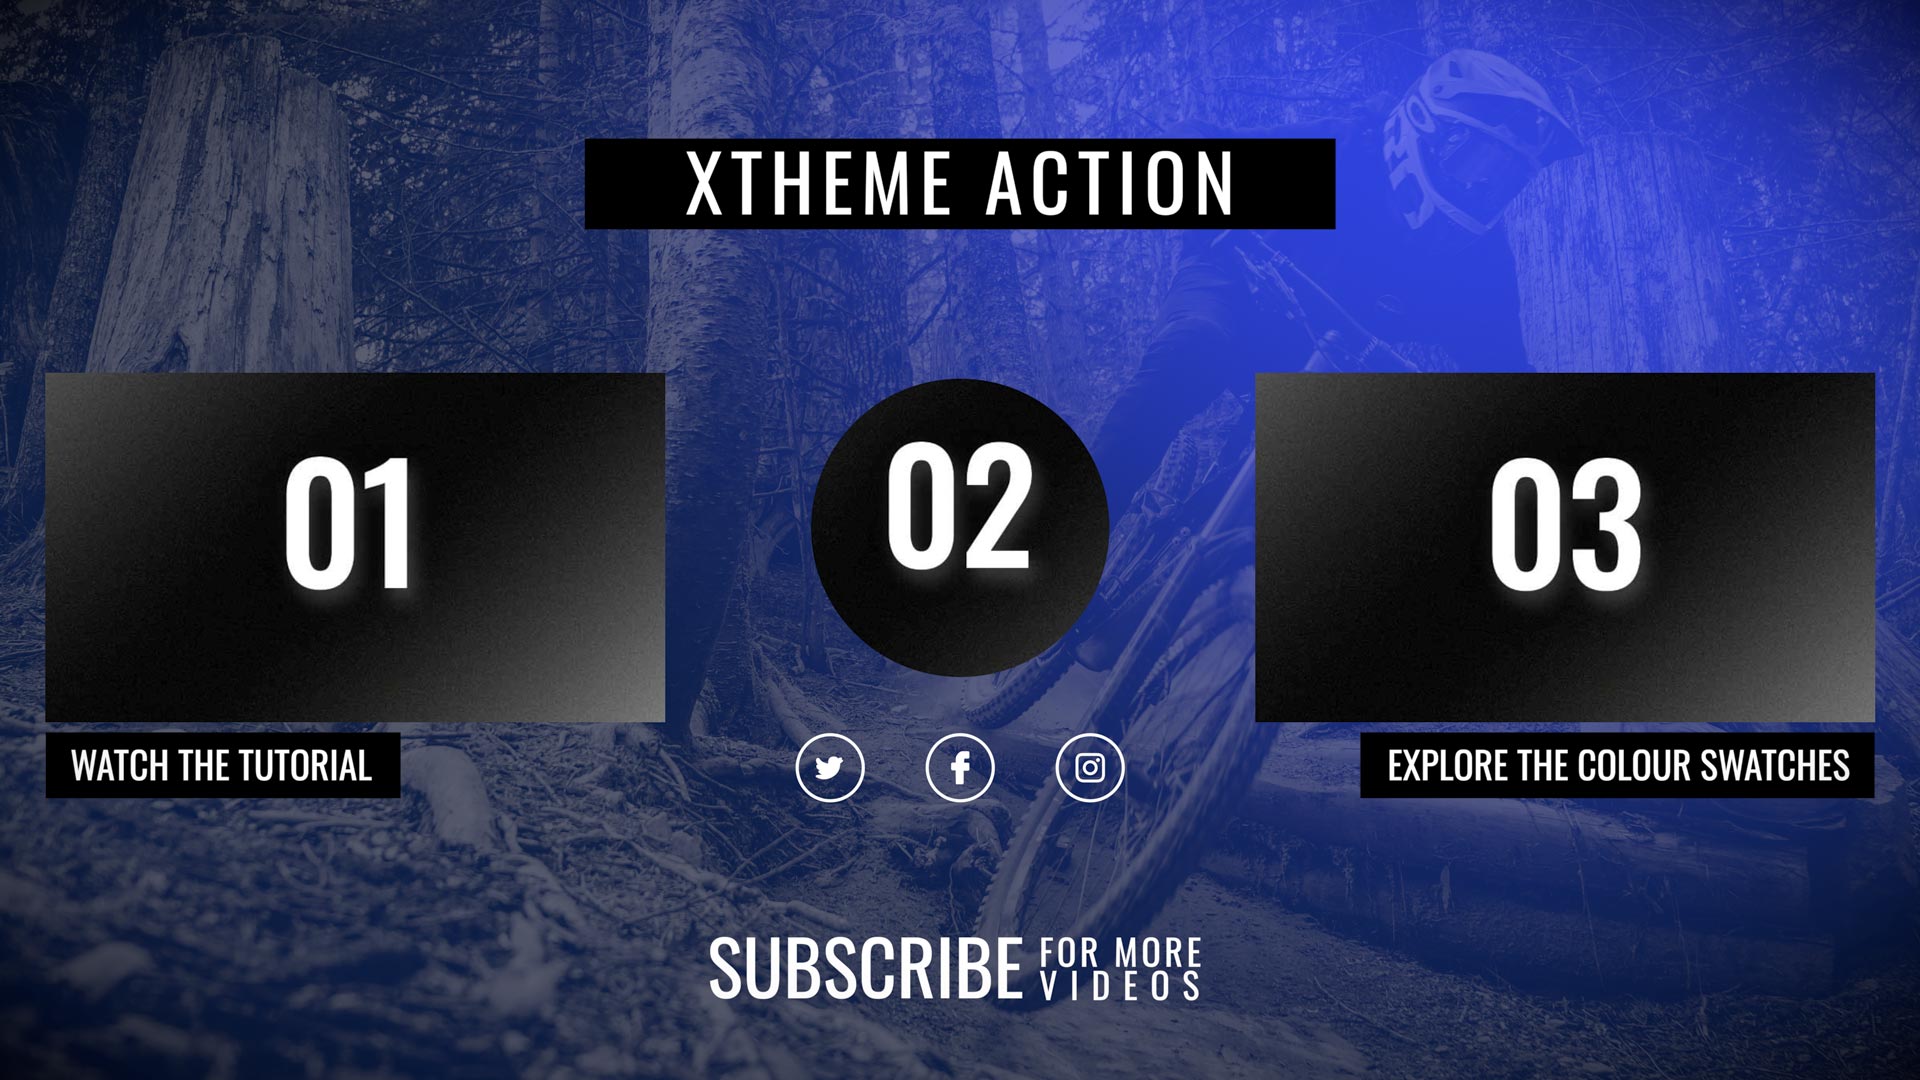
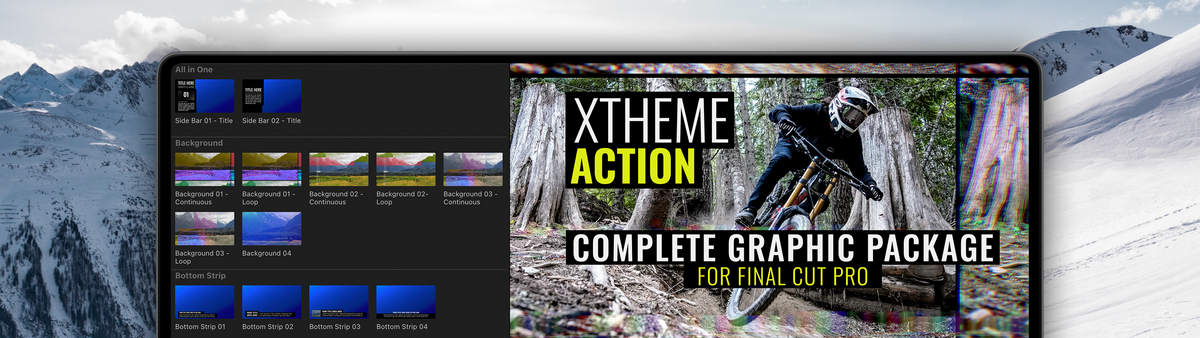
XTheme Action
$49.00
Description BUY XTheme Action XTheme Action is a Complete Graphic Package for Final Cut Pro consisting of over 120 plugins. Its high energy is perfect for any production that needs...
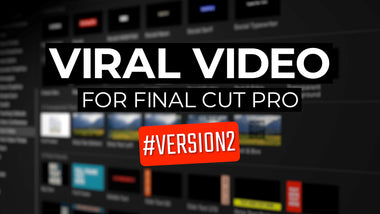


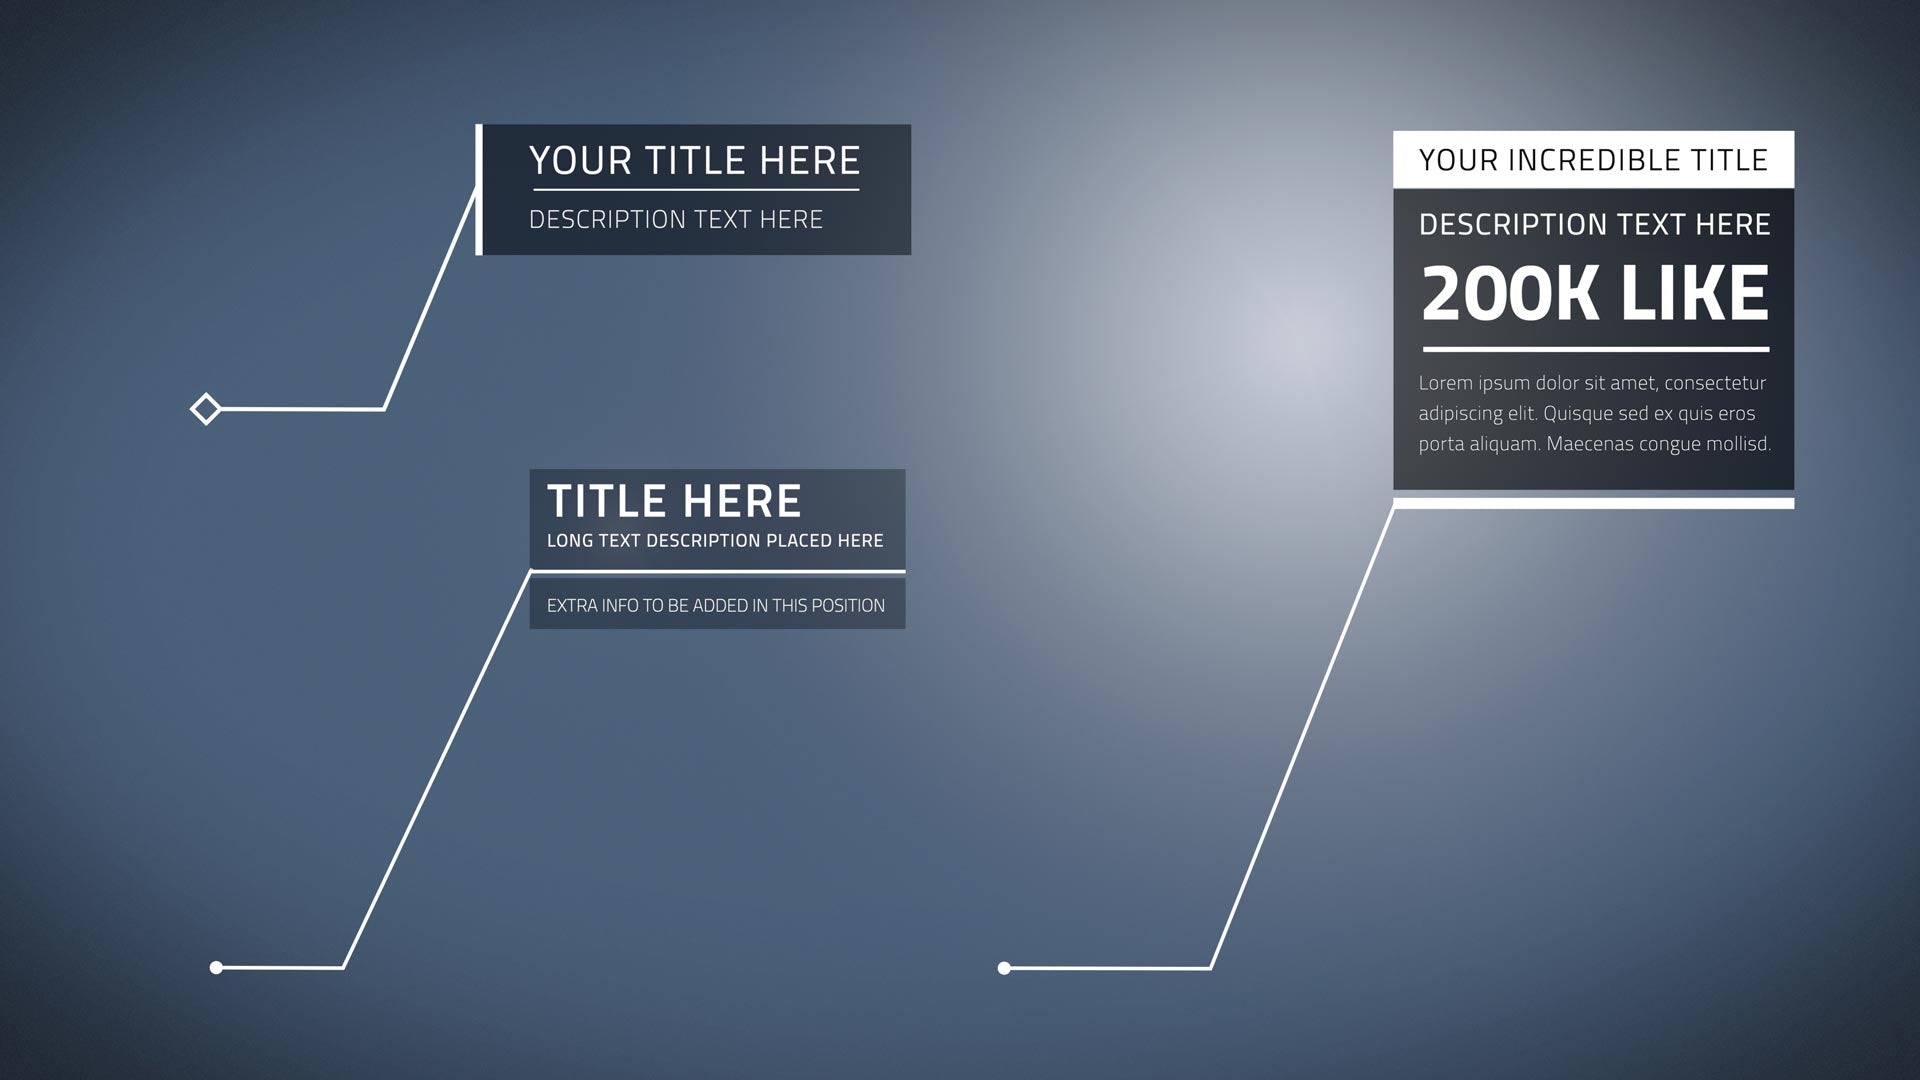
XEffects Viral Video 2
$49.00
Description BUY XEFFECTS VIRAL VIDEO Go Viral! Get your message across by adding dynamic boxed text and side panel annotations. Fully customisable for font, colour, background, position and animations. New...


XTheme Tech
$49.00
Description BUY XTheme Tech XTheme Tech is a Complete Graphic Package for Final Cut Pro consisting of over 115 plugins.All the elements have a consistent design that enables editors to...


XEffects Insta Splits
$49.00
Description XEffects Insta Splits are a set of animating grid layout plugins for Final Cut Pro. They have been designed especially for vertical video (9:16) projects. Build your split grid from halves, thirds, quarters, sixths, eighths...


Blog posts

DIARY OF A PLUGIN WRITER #3
It has been a while, but we are back in 2024 with an update to 2023
The Final Cut Pro ecosystem has changed. There are now huge libraries that can be accessed with a monthly subscription. There are plugin writers that are systematically working through other developer's products making

Whatever Happened to FCP.co?
Hopefully this short blog will answer a few queries about the life and eventual closure of the best Final Cut Pro website.
The site ran for over 12 years, it started before Final Cut Pro X was released and surfed the wave of creation, innovation and finally in the latter years, frustration.
Bestsellers
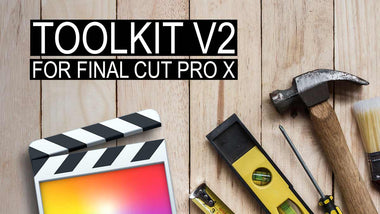


XEffects Toolkit 2
$49.00
Description XEffects Toolkit is a pack of 70 utility plugins and tools that make the hard tasks in editing easier. We set out to create the most advanced, most featured and...
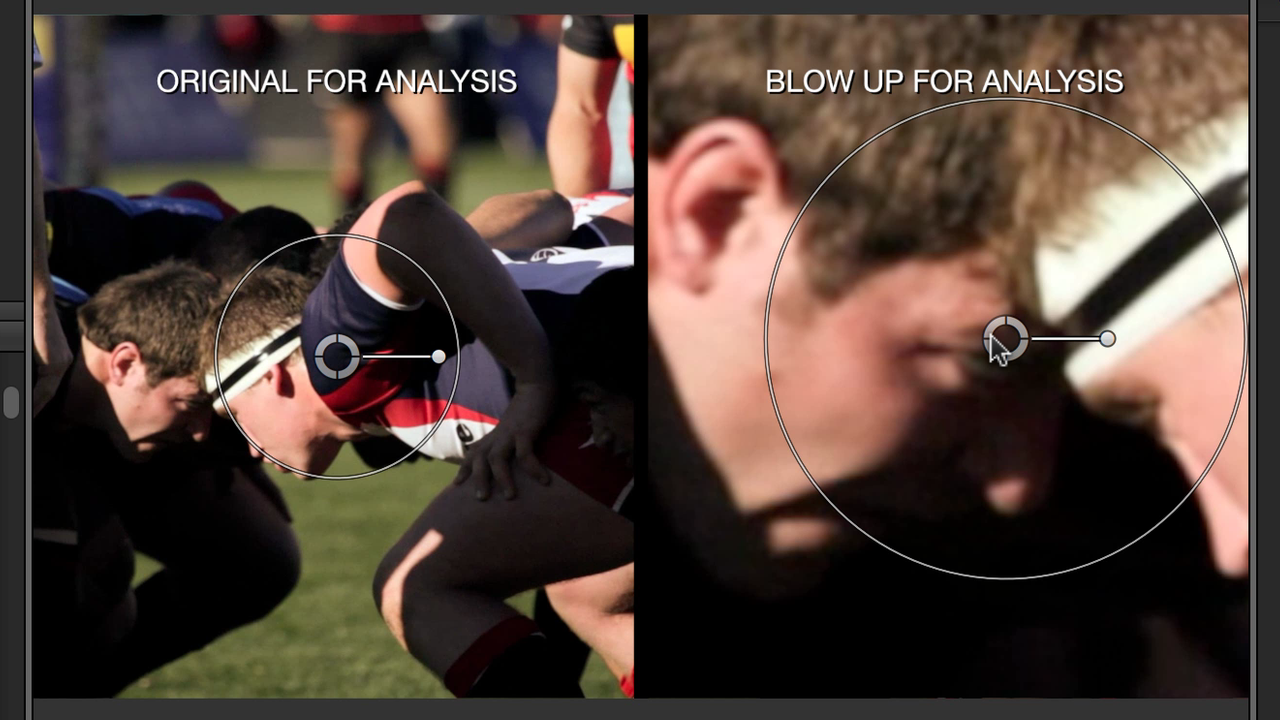
XEffects Tracking Callouts
$49.00
Description XEffects Tracking Callouts are a set of callout title plugins for FCPX that feature built in object tracking. Just select an area and then let the plugin analyse movement of the object...


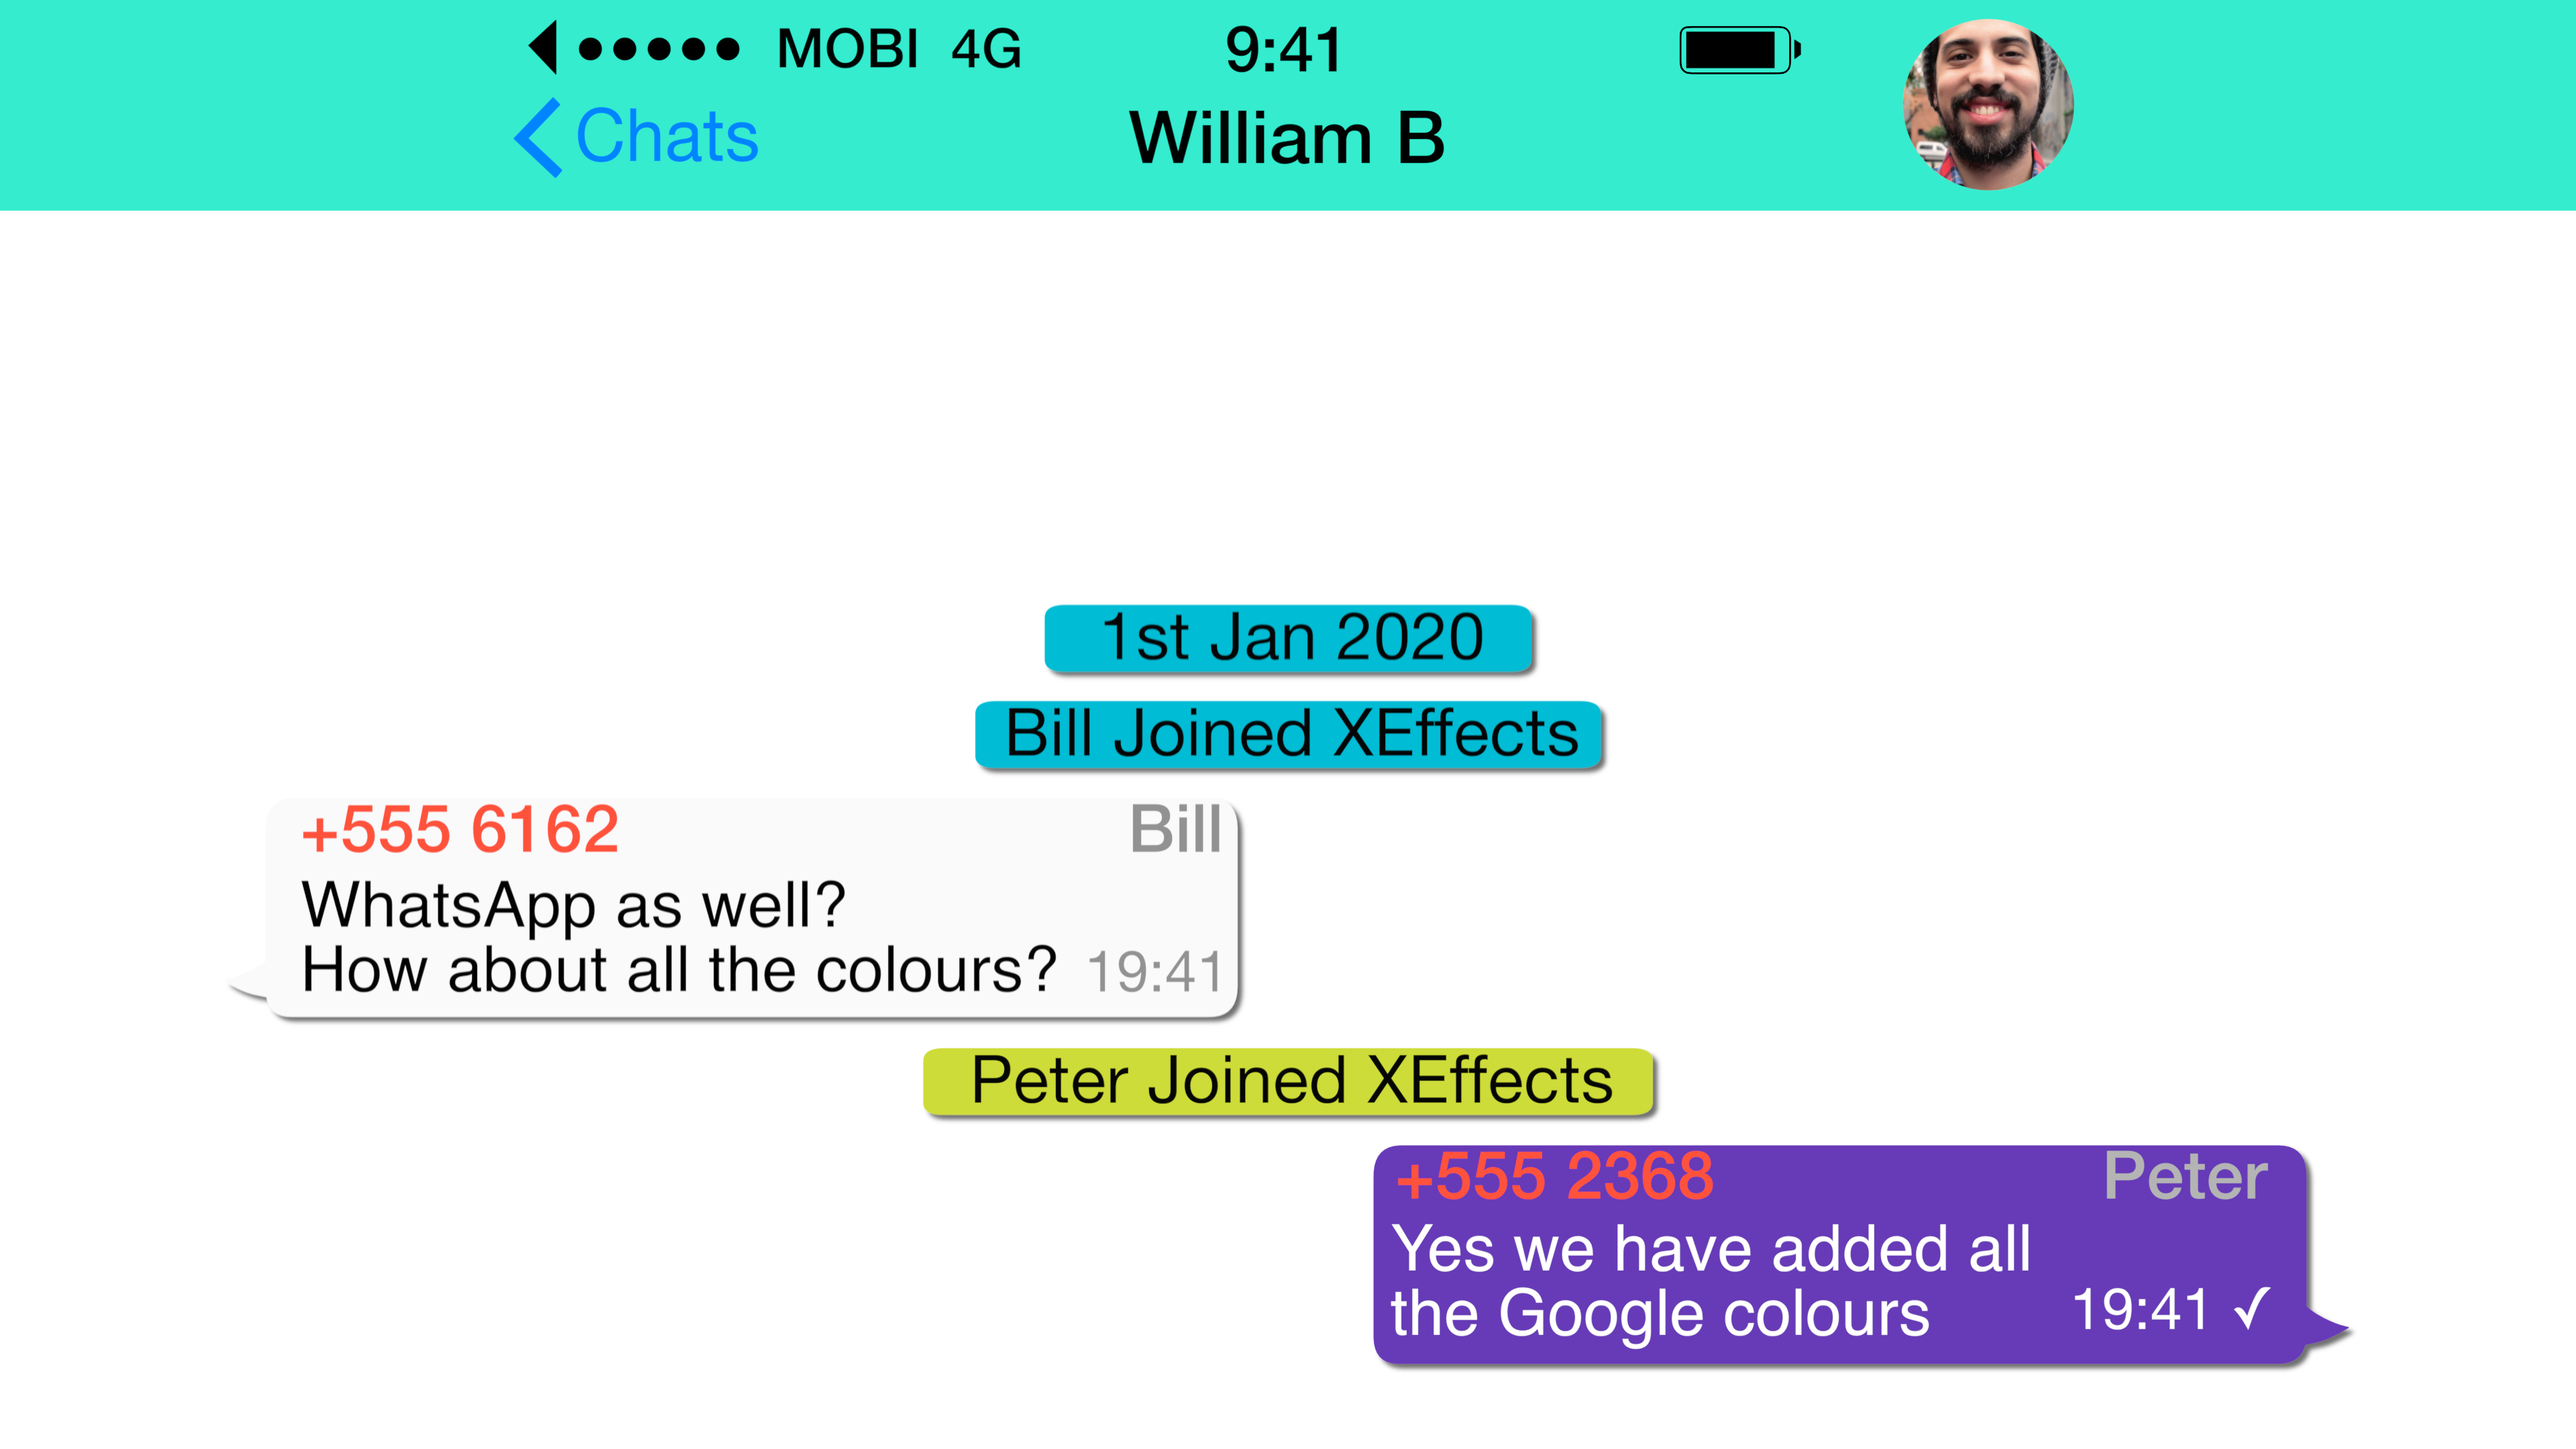
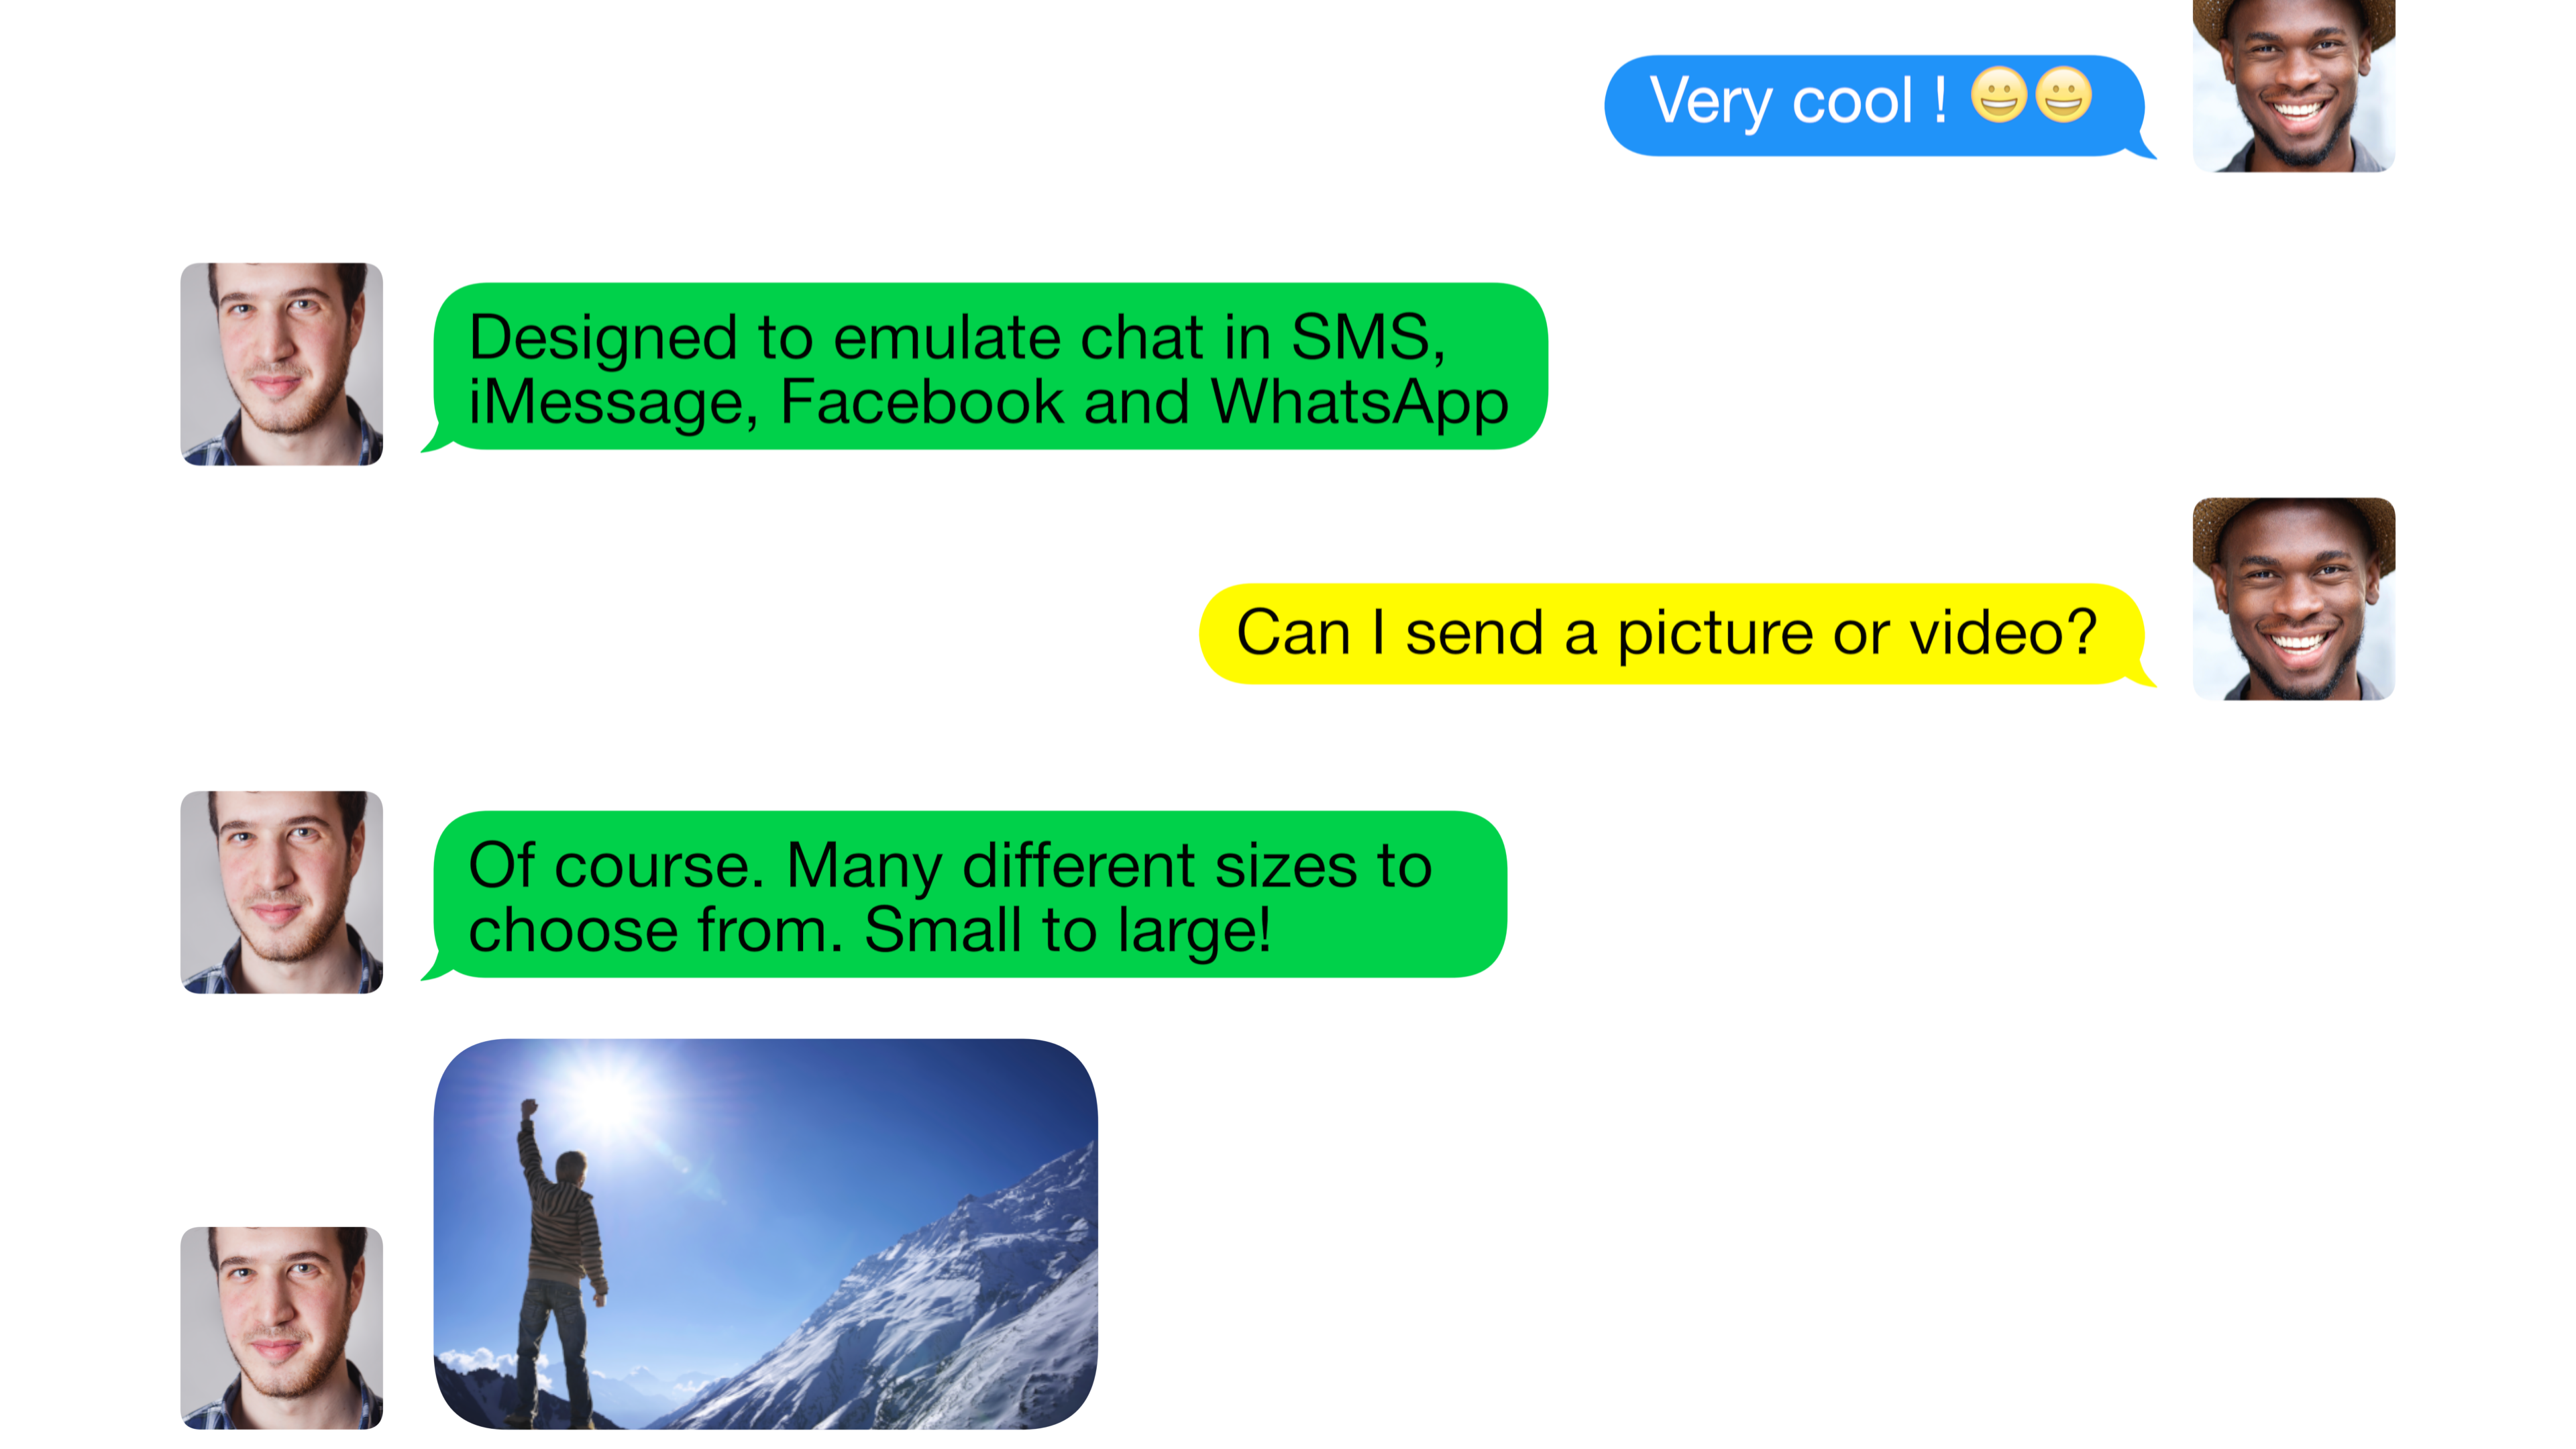

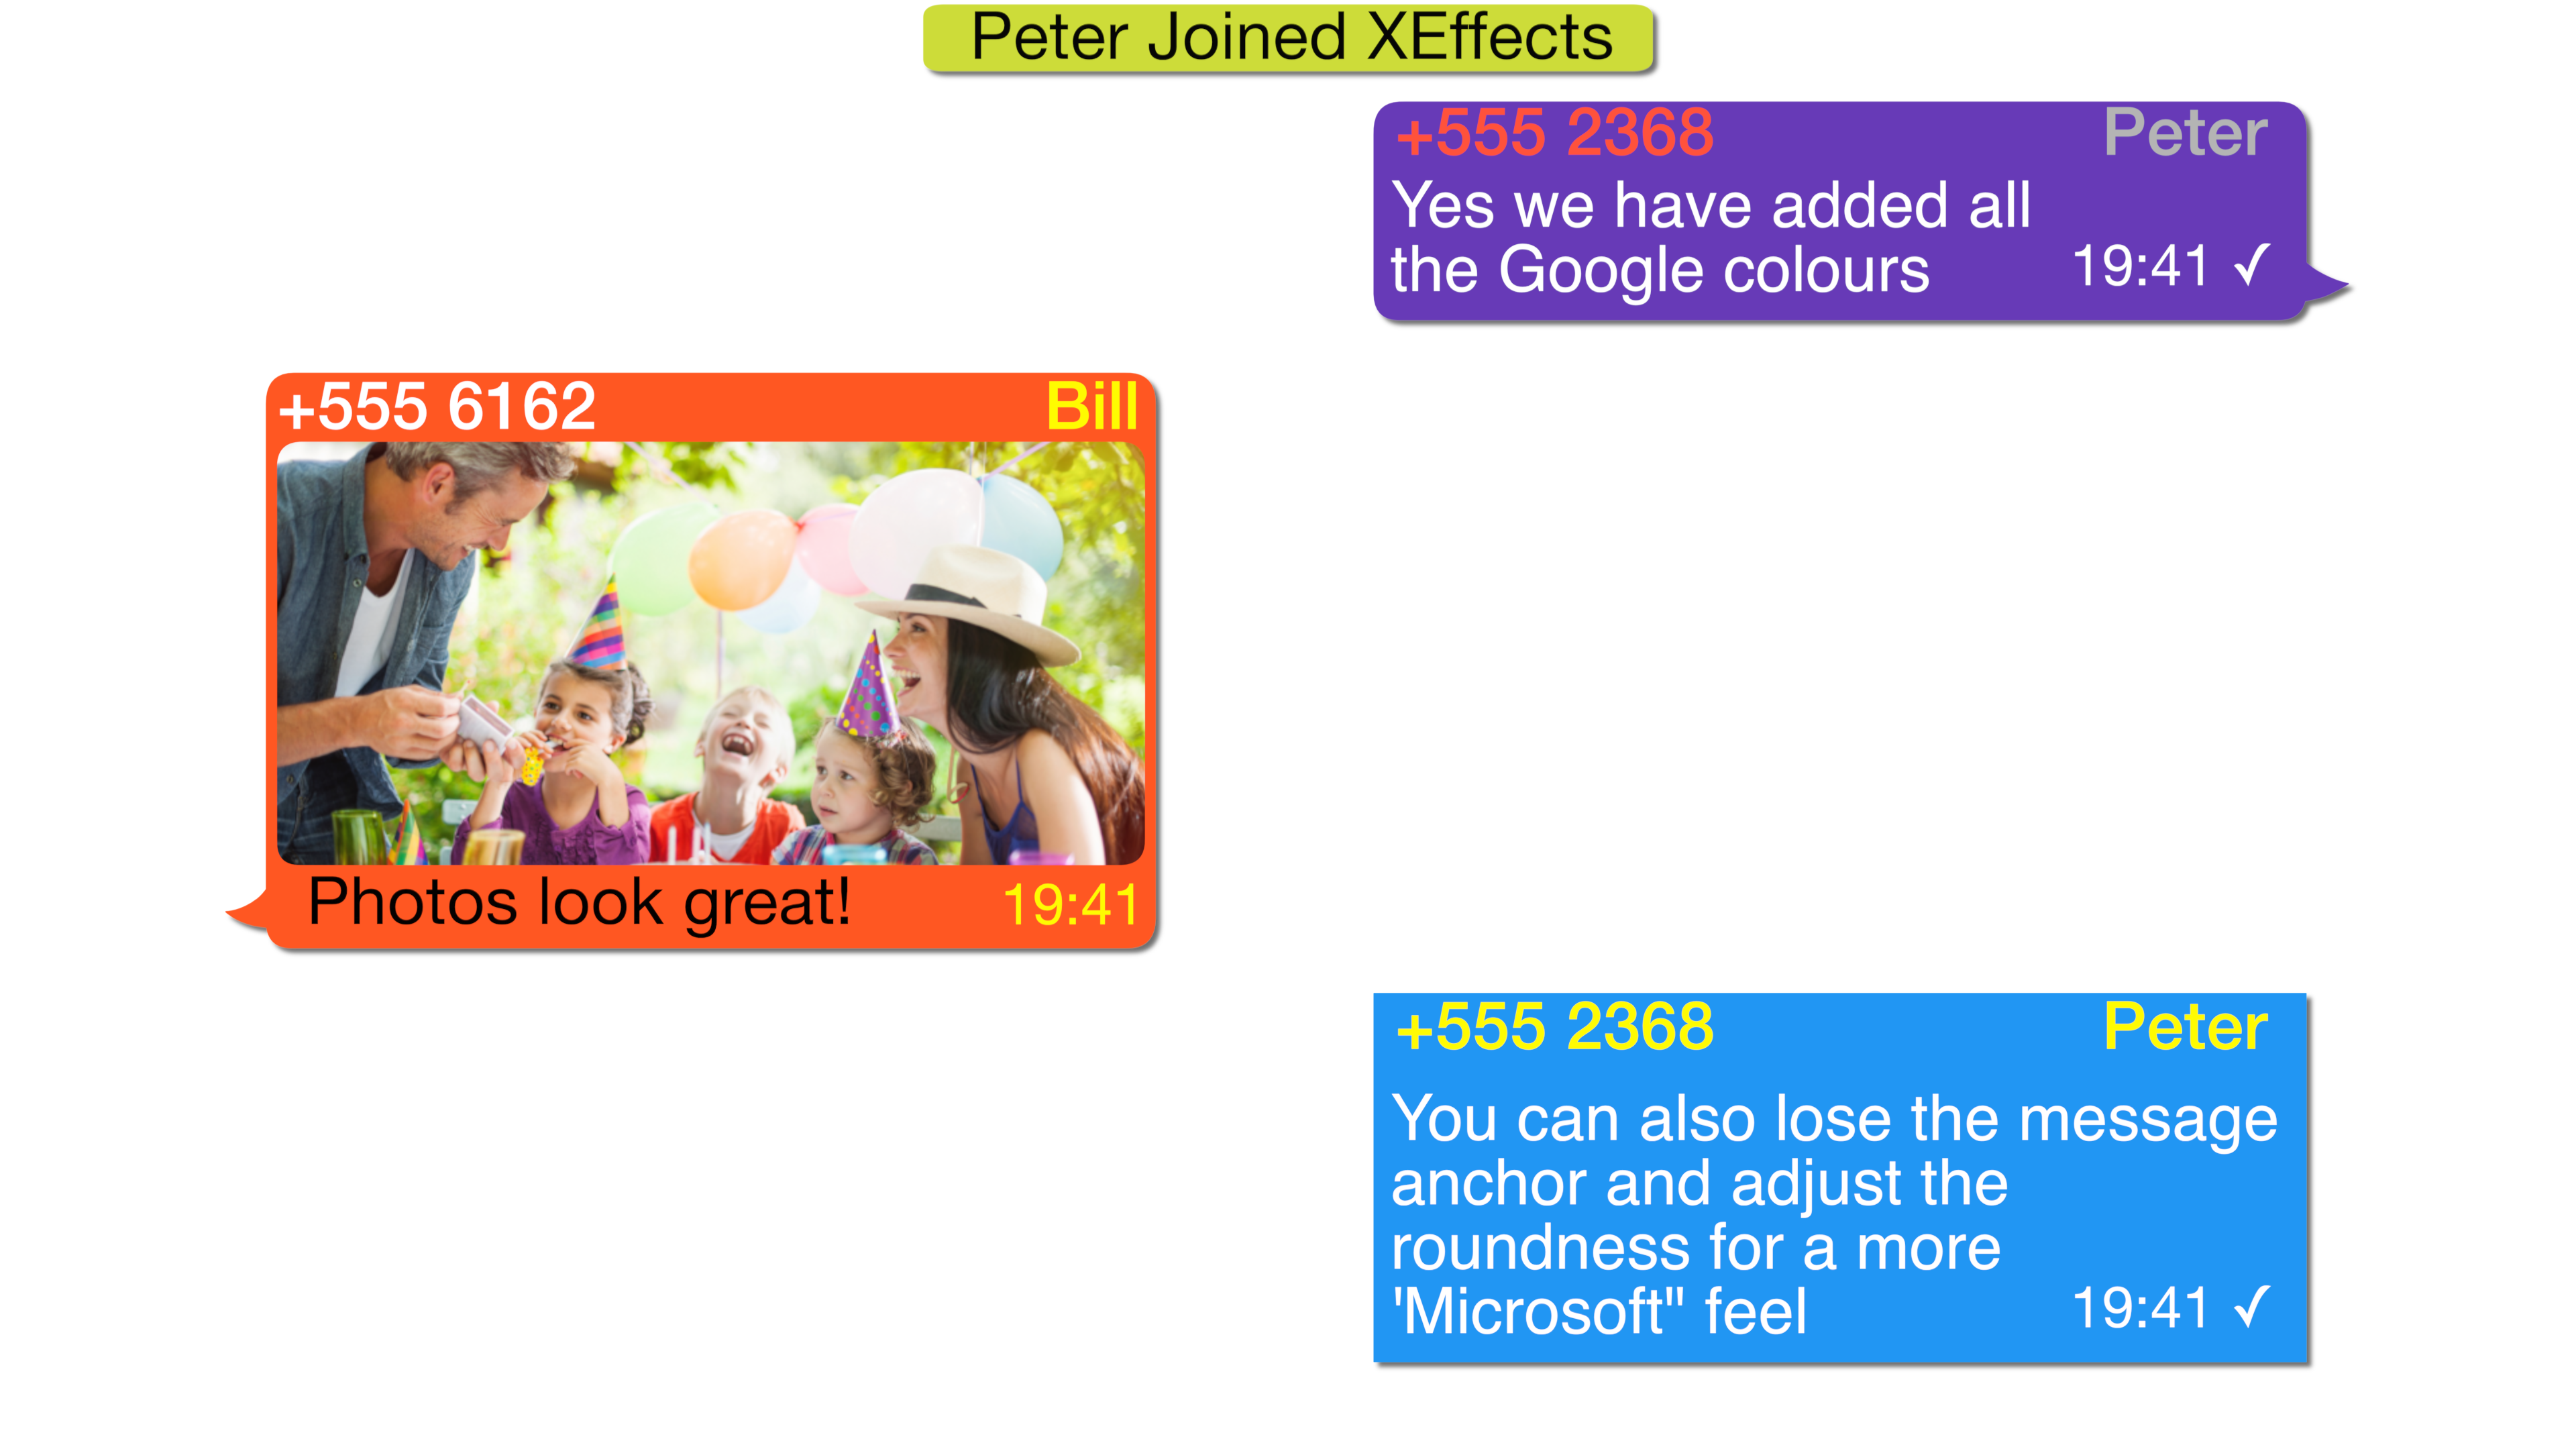
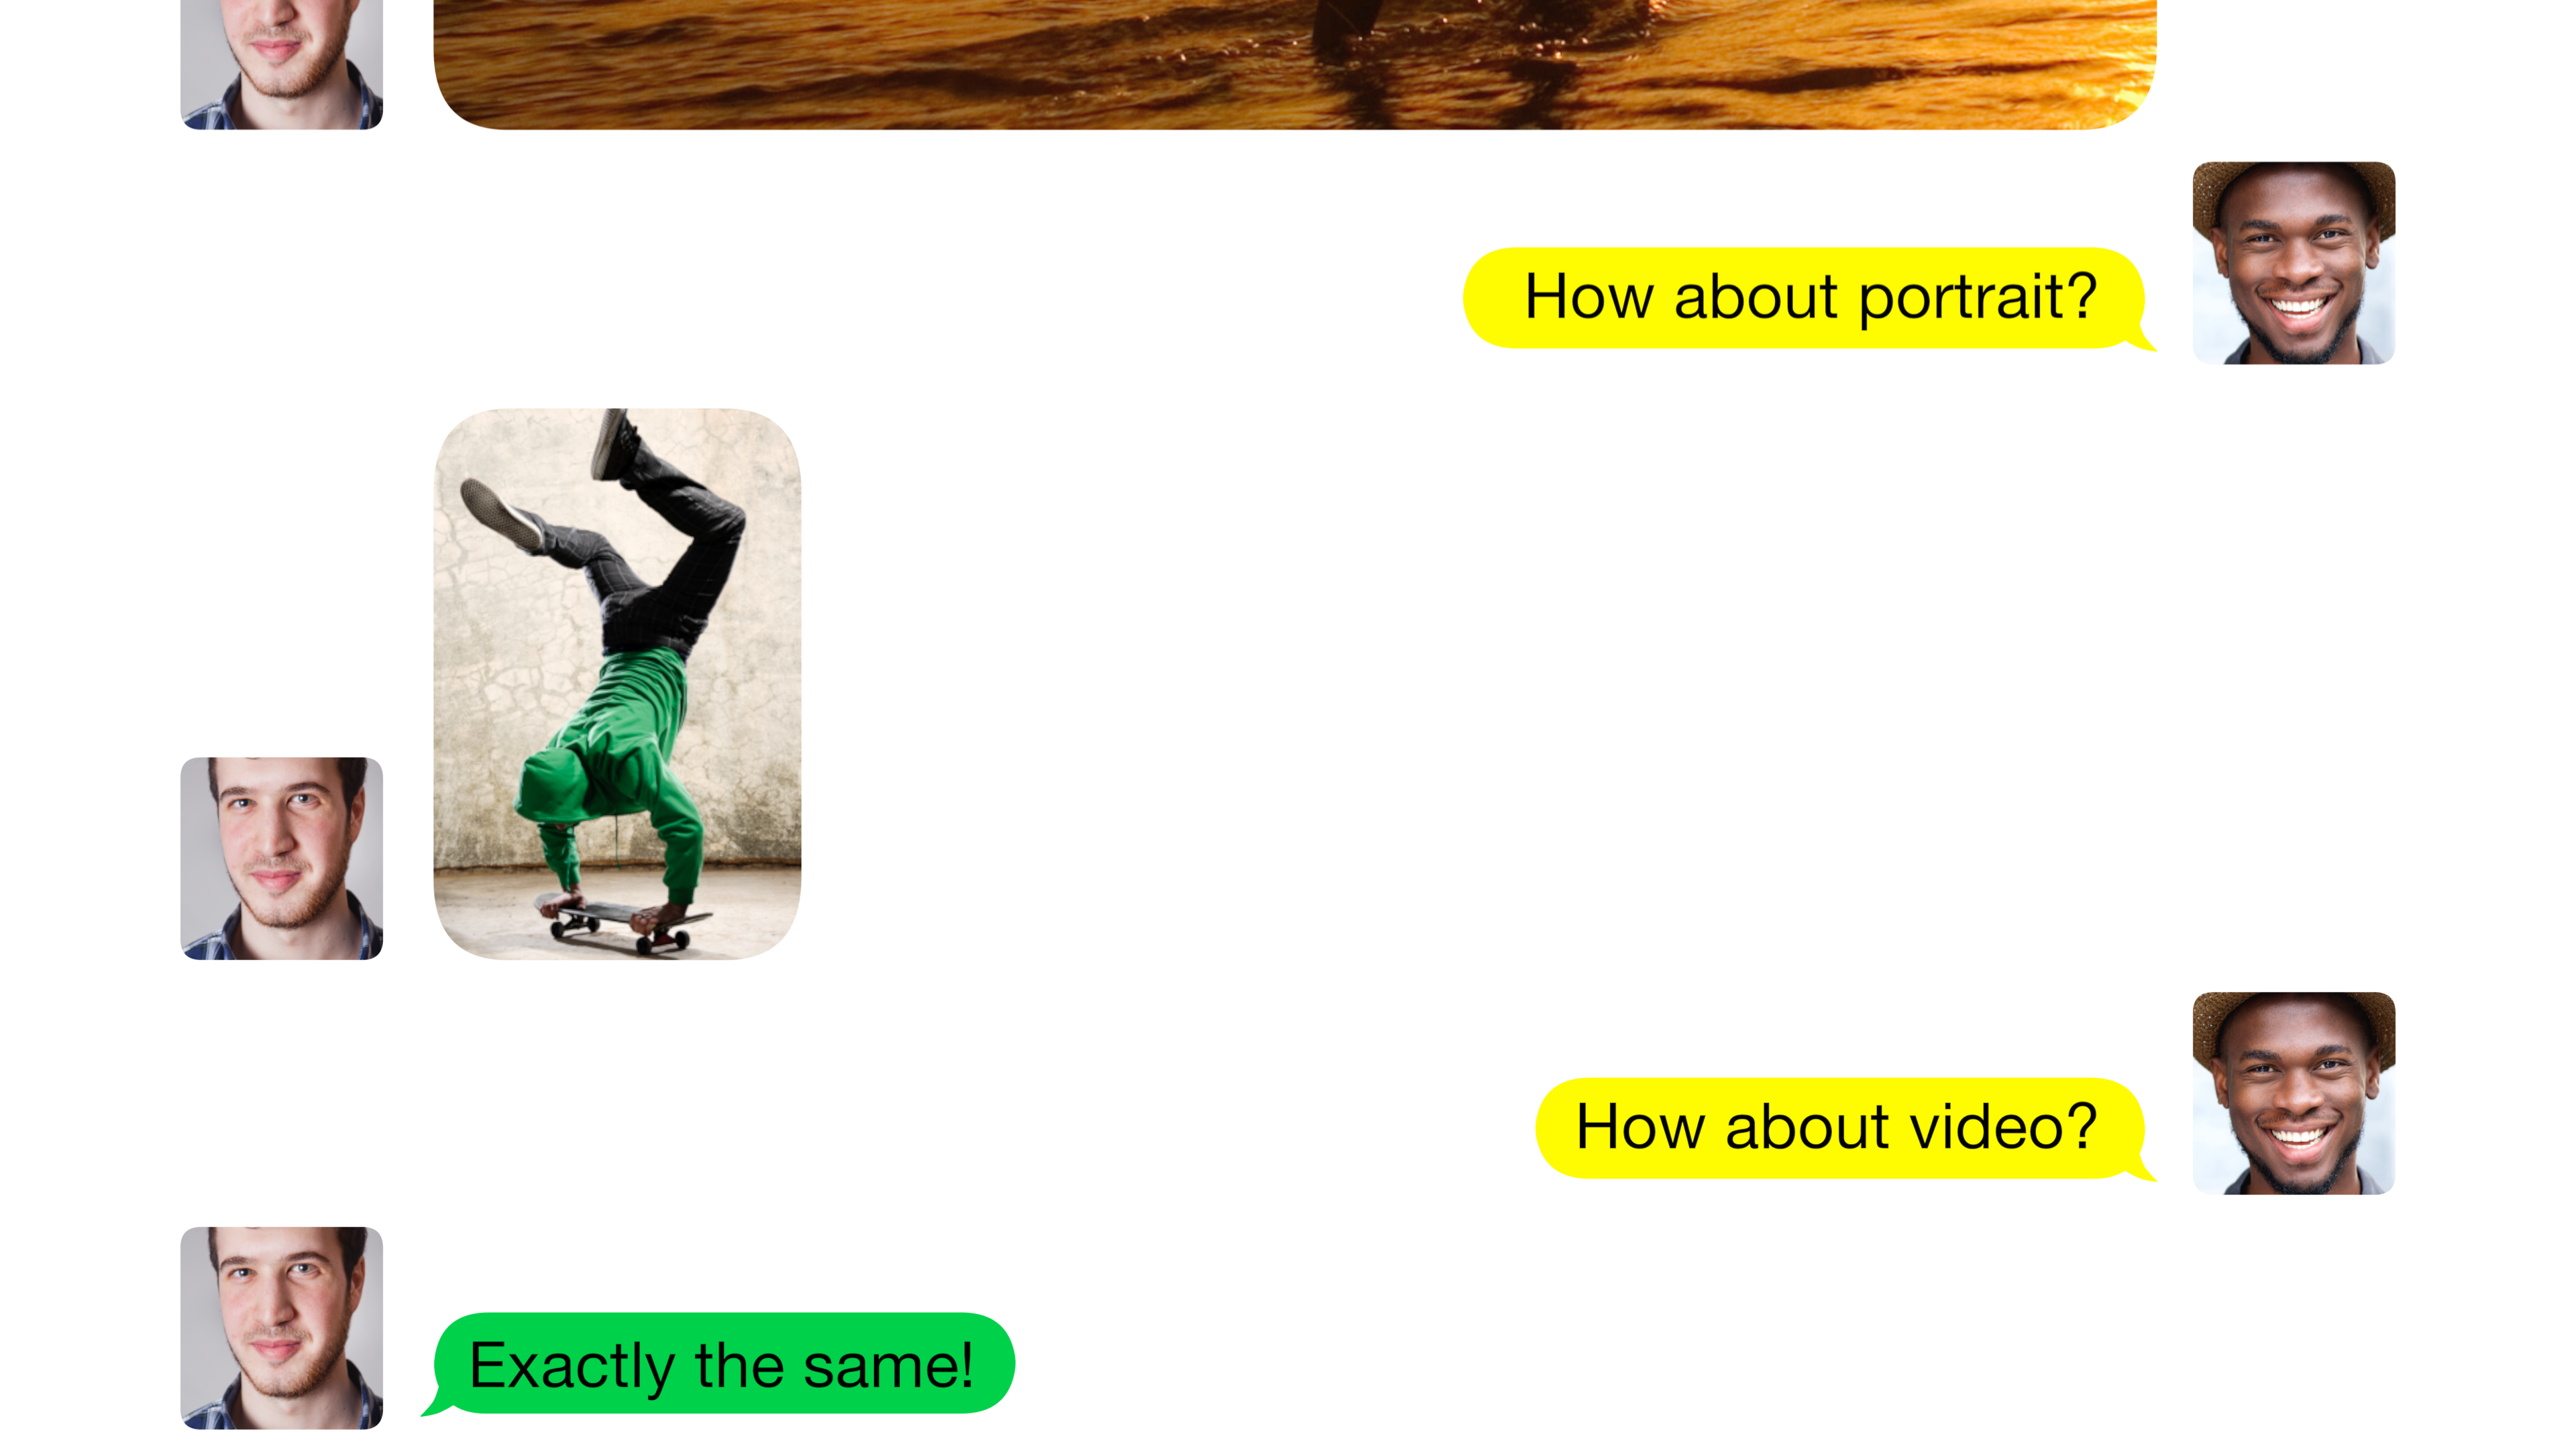


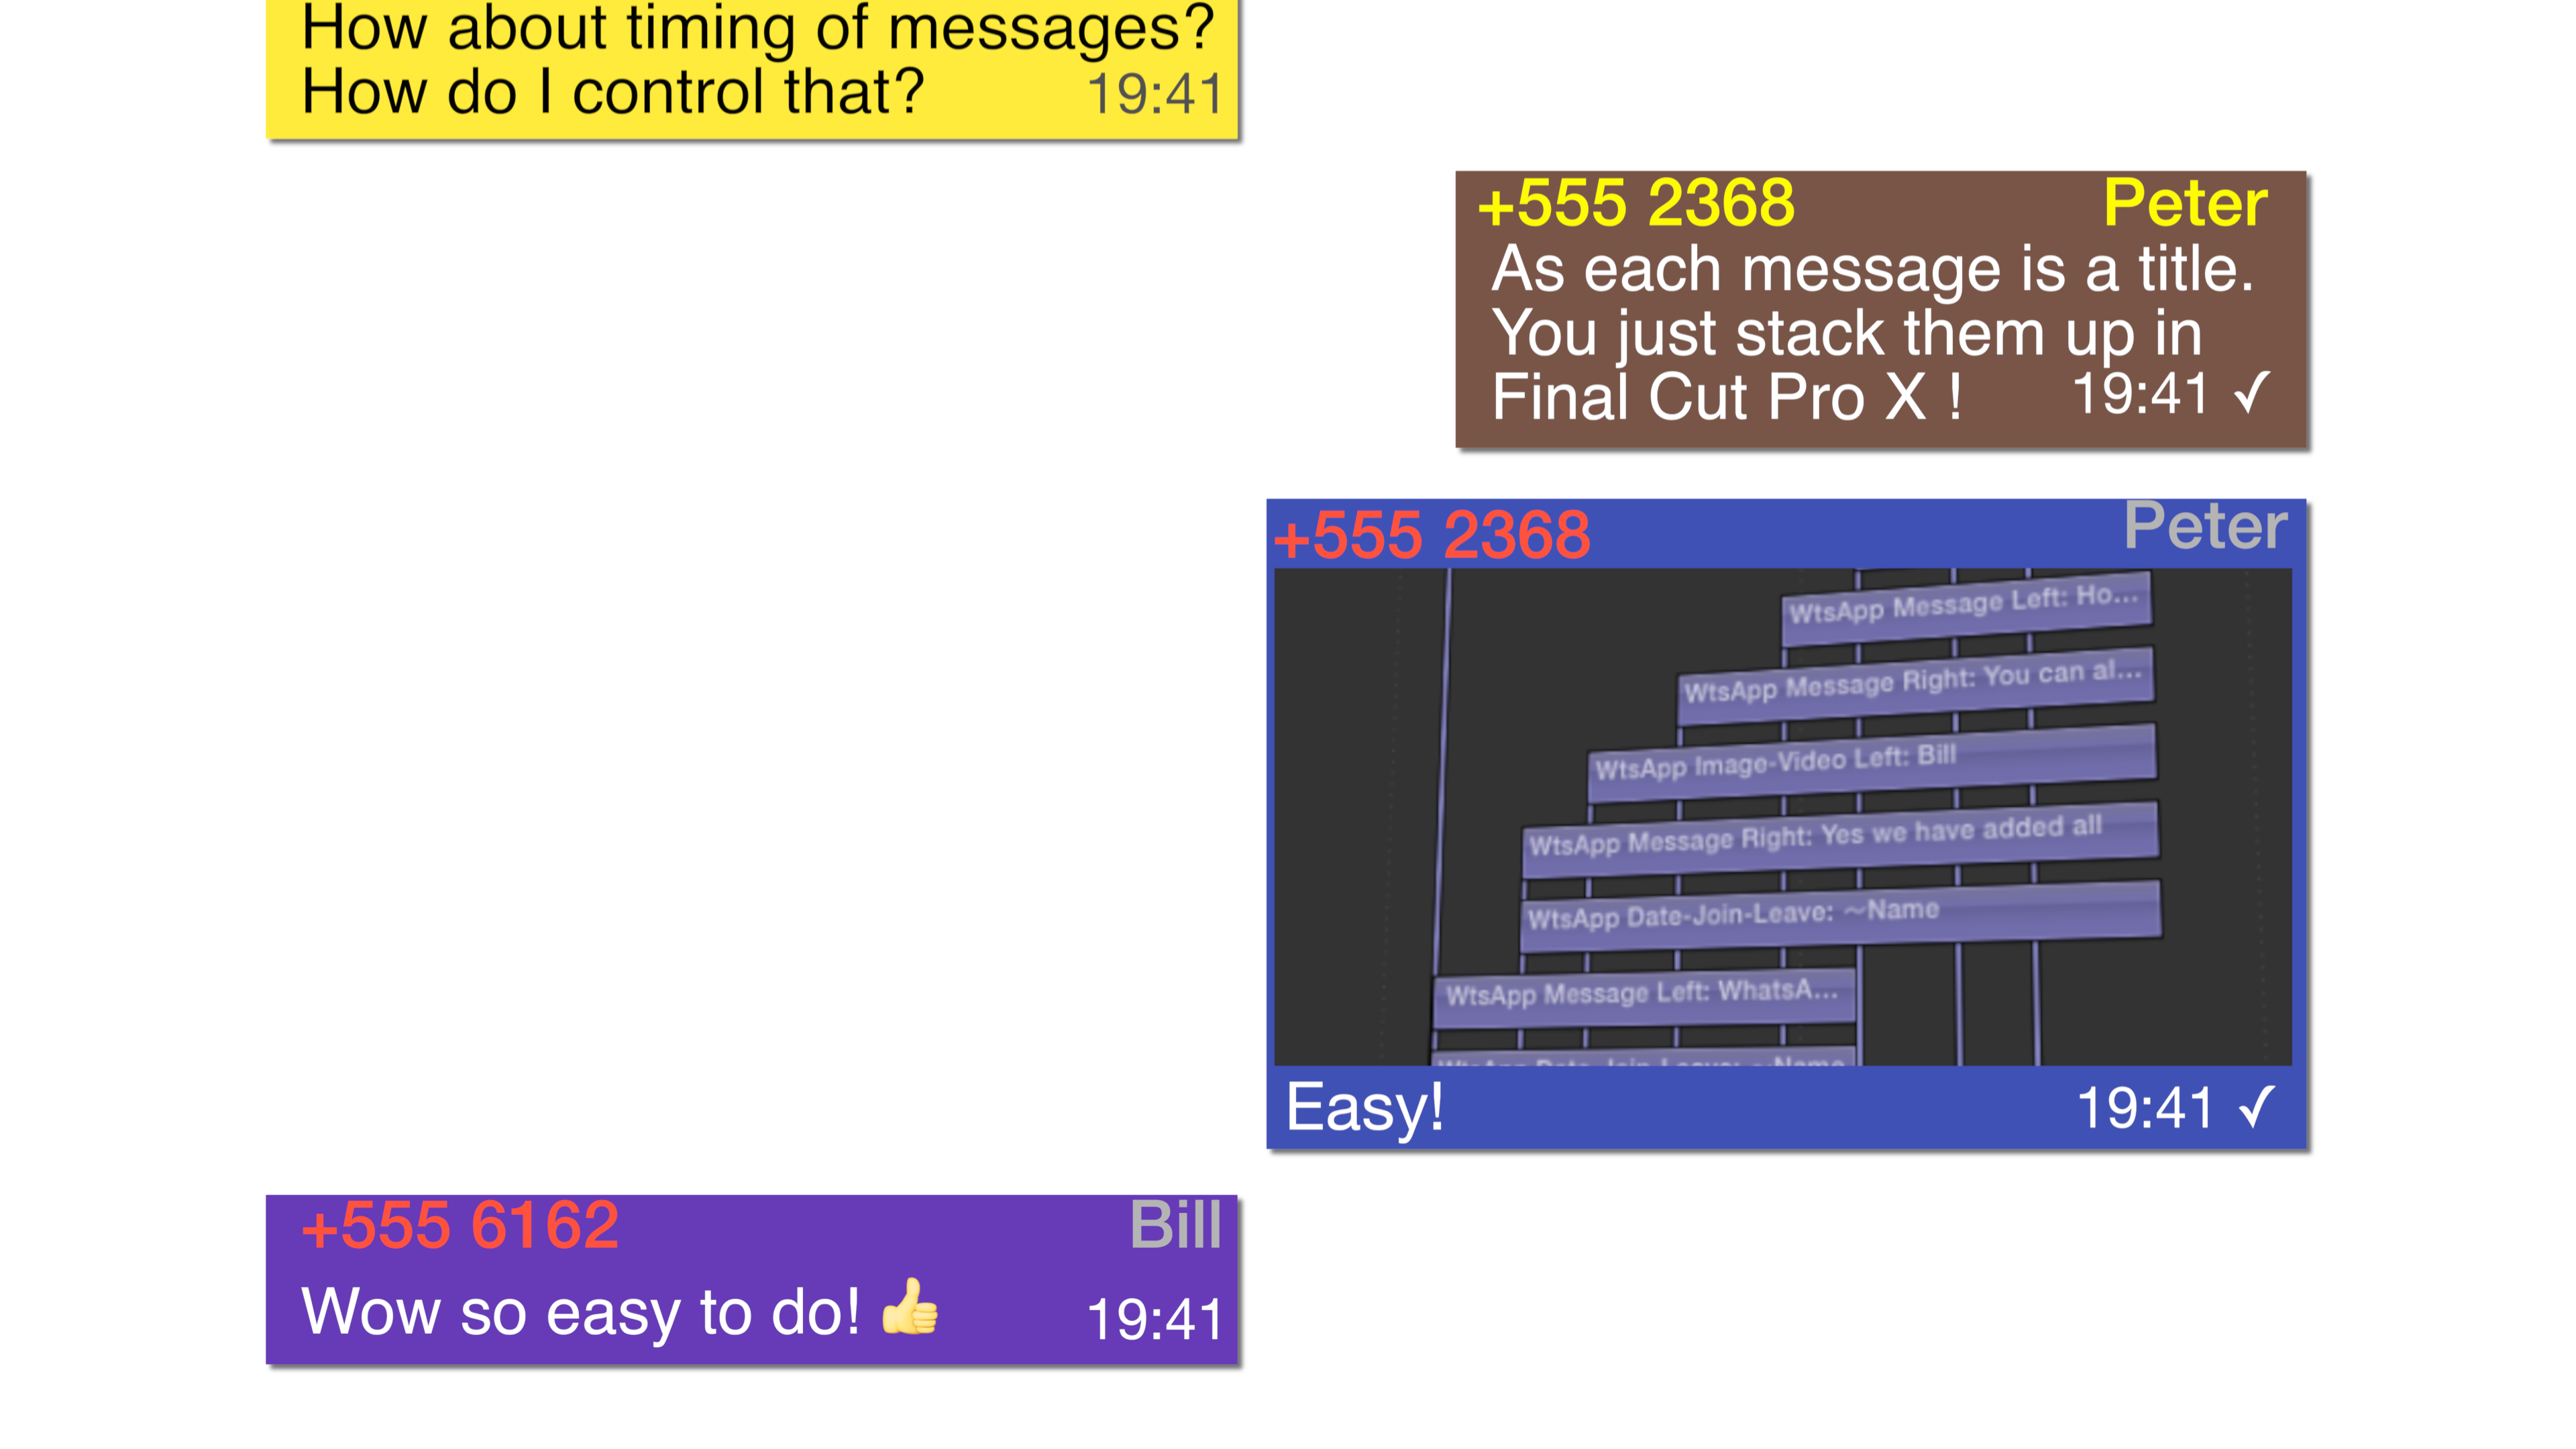
XEffects Messages 2
$49.00
Description XEffects Messages are a set of Final Cut Pro X plugins that emulate an onscreen conversation via SMS, iMessage, Facebook and WhatsApp. NEW! Messages 2 adds tracking to individual messages and...

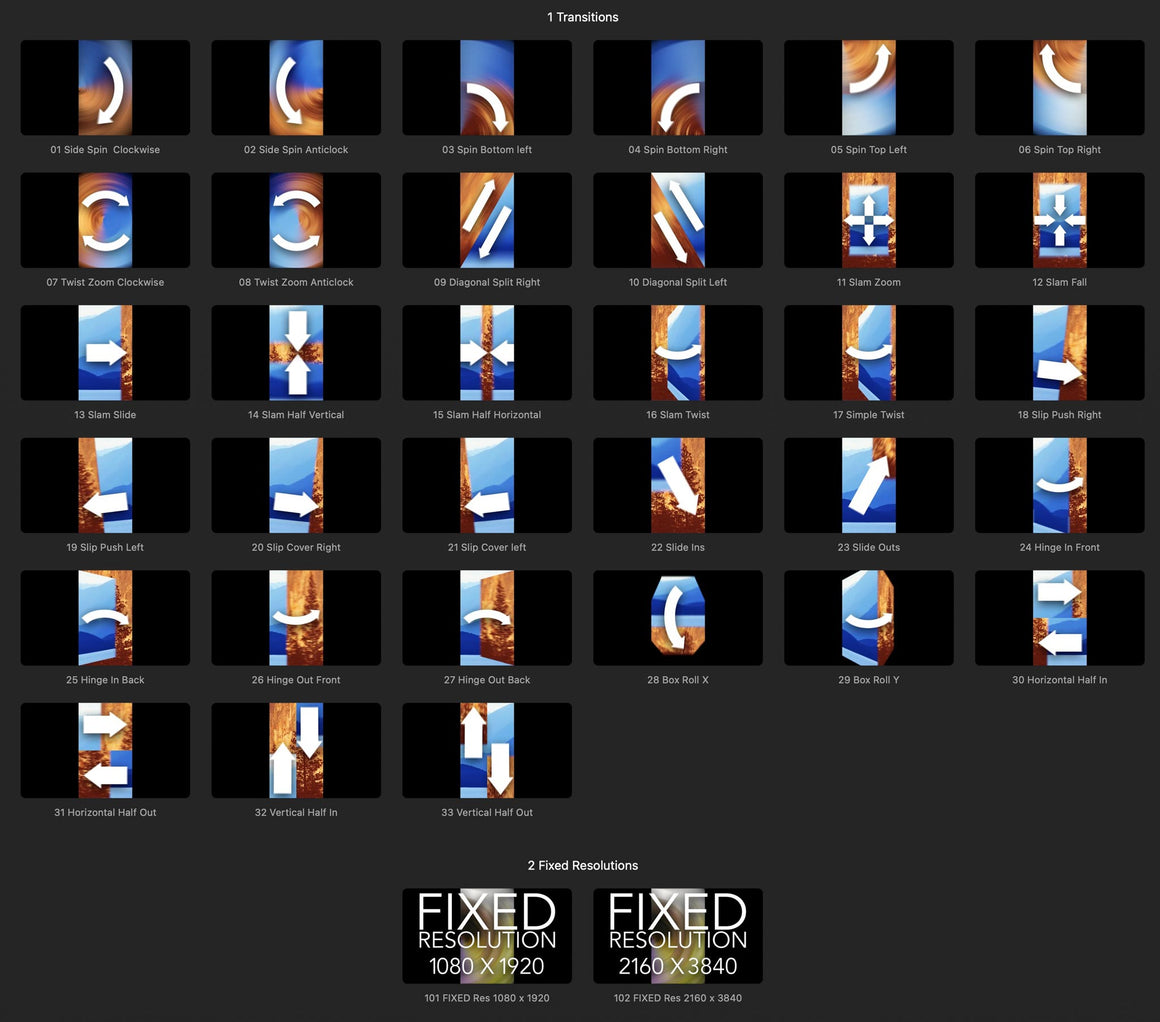

XEffects Insta Transitions
$49.00
Description XEffects Insta Transitions are a set of transition plugins for Final Cut Pro that have been designed especially for vertical video (9:16) projects. Vertical video is becoming more popular every day...


XEffects 6 Free Simple Titles
Free
Description XEffects 6 Free Simple Titles is a collection of free plugin titles for Final Cut Pro X. All the plugins have been designed to be fully customisable with optional build-in...


XEffects Video Conference 2
Free
Description XEffects Video Conference 2 is a comprehensive set of free plugins for Final Cut Pro that emulate an online video chat or meeting. There are new plugins for 2 to...
Tutorials

How to Start & Successfully Run Your Own YouTube Channel
